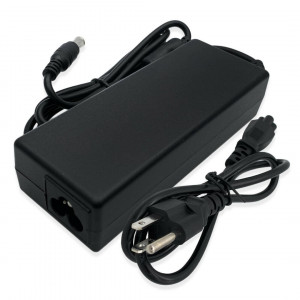
To begin the process of removing your battery, you'll need to locate the latch that releases it. On most Sony Vaio S Series laptops, this will be in the area below the touchpad. You can check your user manual if you are not sure where to find it. Once located, gently press down on both sides of the latch until it releases and you can lift up the battery.
After removing the battery, you should inspect it for any obvious damage before putting it aside. If there are signs of swelling or other visible deformities, then your laptop probably needs a new battery altogether. Be sure to properly dispose of any old batteries in accordance with local regulations.
If you need to install a new battery, make sure it is compatible with your Sony Vaio S Series laptop. After confirming that the new battery is compatible, insert it into the laptop in the same way as you removed the old one. Then lock it into place by pressing down on both sides of the latch until it clicks.
Once the battery is in place, your laptop will be ready to power up once more. Take care of your Sony Vaio S Series laptop by following these steps on how to remove and replace its battery. This way, you can ensure it will always have the energy needed to get through even the most demanding tasks.
Make sure you visit TypeBattery.com for more helpful tips and advice on how to maintain your Sony Vaio S Series laptop's battery. We have a wide selection of high-quality replacement batteries to choose from, so you can rest assured that your device will always be powered up and ready for use!
07/02/2023


